
Got Nicoled today
- 2 Posts
- 28 Comments
Joined 1 year ago
Cake day: November 5th, 2023
You are not logged in. If you use a Fediverse account that is able to follow users, you can follow this user.
That’s pretty neat! While I see the concern of not using AI for everything. These projects are good for practice and provide motivation. This in turn gives a sense of achievement and maybe lead to bigger things. That to me makes this worth it. Great job.


 4·2 months ago
If the machine starts operating then, yes it’ll be bad.
During initialization the machine checks for all of this. I once had a staple on my clothes and the tech came in and asked me to look for it. They didn’t know what it was. They just knew I had metal on me.
The butt plug rail one is wild! Idk how that happened.
 2·2 months ago
Thanks for laying it out!
Now and then I’ll watch a Louis Rossman and Gamer’s Nexus video but I don’t follow Linus. Did something happen between them that I missed?
 5·2 months ago
Honestly, it’s pretty easy to dunk on edge. But it’s based on the same chromium browser. They have excellent customer support. I have in the past submitted bug reports and they have followed up. Until now, they had pretty good privacy and options in their settings. With this v2 / v3 situation, I will have to reassess all that.
 2·3 months ago
If you try these out please lmk. I’m very curious to know how it goes.
I have a few ideas -
- Replace the posts with wooden dowels. That might make it stronger and still cheaper.
- This one is harder to describe. Assume that you have a post of diameter 5mm and length 100mm, and your base is 20mm high. At the post’s base make it dia 10mm and height 10mm. Now make a similar negative feature in your base ⌀5x10, ⌀10x10. To assemble, insert the post from the bottom of the base. This way you’ll get a lot more support.
- You can make the idea above more 3d printable by using generous chamfers.
- Your current profile is hexagonal, you can still make the collar. Make one of the edges coincident instead of the axis. You’ll still be able to print flat. Or if you want a concentric hexagon then cut off the excess collar at the plane of the shorter hexagon.
- You can employ a similar technique for the top but you’ll have to get more creative there.
(Edit - I’m sorry, I can’t figure out formatting on my app)
Amazing! Next things to set up are sonaarr, radarr and prowlarr.
 9·4 months ago
Red dead redemption 2 really made me feel thankful for experiencing the story. It was a different kind of joy but it was very sad too.
I’m sorry right now I can’t hear what this YouTube video is saying but this looks exactly like your photo. I skimmed its captions and I don’t think the YT video identifies it correctly. https://youtu.be/KEkk5gu4XKs?si=qq4It_utOm7UcrYa
Also, it looks like a mealy bug.

Thanks. These tips help a lot.
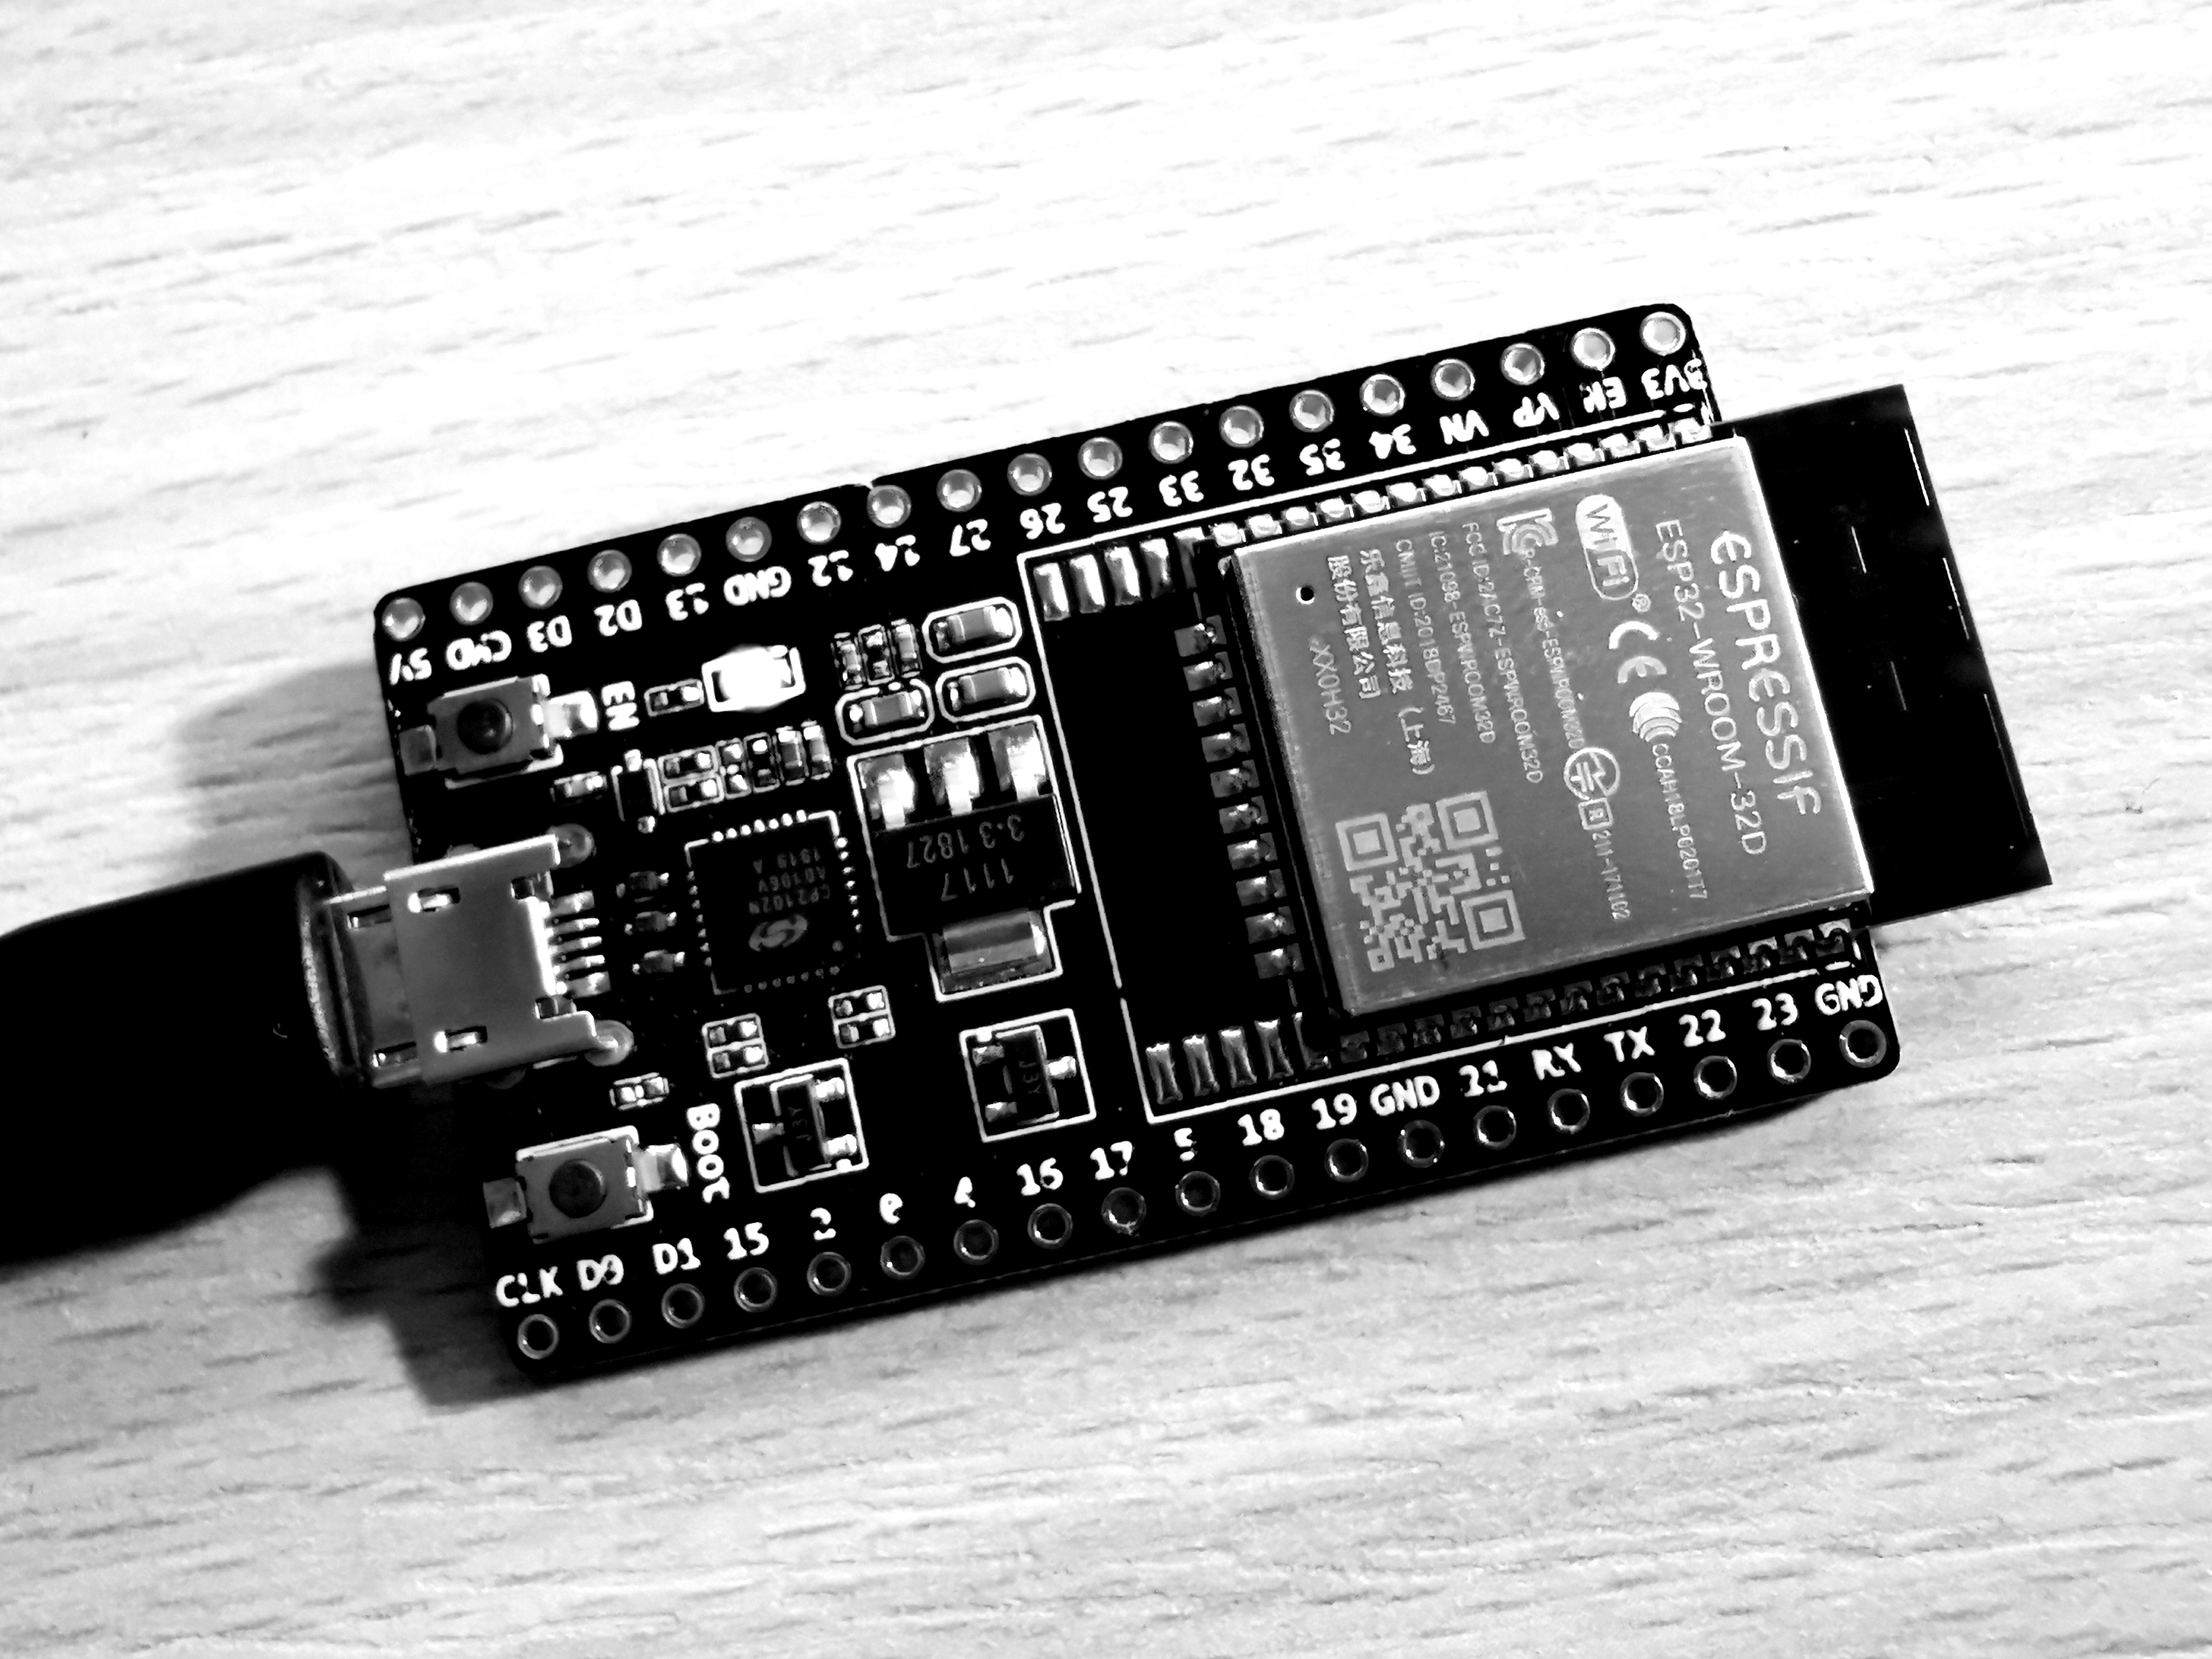
I wouldn’t say that the goal is to learn. I have implemented the design on a Dev board. I also designed a breakout board which worked well. I am now considering just trying to do a new layout in a smaller form factor.
There are bigger system integration tasks that I need to address before I can spend my resources on learning ESP32’s board layout. That is why I wanted to derisk my design by building on top of a known good design or at least find out the best practices of board layout.
My goal is to make a dev board with a custom layout. So if I can use ESP32-DevKitC as a starting point then I can focus on the board layout having some confidence that the component selection and the routing is done correctly. That’ll have save me some design iterations.
Maybe you are right that it is simple enough to recreate it and I just need to give it a try.
I’m waiting for my https://www.seeedstudio.com/MR60BHA2-60GHz-mmWave-Sensor-Breathing-and-Heartbeat-Module-p-5945.html to arrive so that I can see what I can do with it.
 3·7 months ago
Heck yeah! Hot shots is so good
I have fancy California Internet and the downloads are surprisingly slow and kept slowing down and turning off. It was such a pain to get my data out of takeout.

 2·10 months ago
Most of the ones I left are already up there. The two I’ll add are - Donut - it wasn’t the same after they got bought. I’m rooting for BigTime! Mental Floss, SciShow- Its been so long, I don’t even remember why I watched it in the first place.
It used to be fine but now things are different. If I don’t get a buzz then it’s just for taste. If I get a buzz then I get an unrestful sleep.
I still do it but I need to be ready to have a bad night.